
True to my estimates, I completed DIY project number 21 before the weekend! It was a delightful end to this simple and uncomplicated set to do. The time taken was not too long, and there were even days when I did not work on it at all because I was out playing golf.
The only thing I changed, or should I say, added, were the two Little People to complete the cuteness of this set. Now it sits in the Ikea display cabinet with the other completed ones. For now, I am on a break from crafting miniatures and contemplating the next one to do.

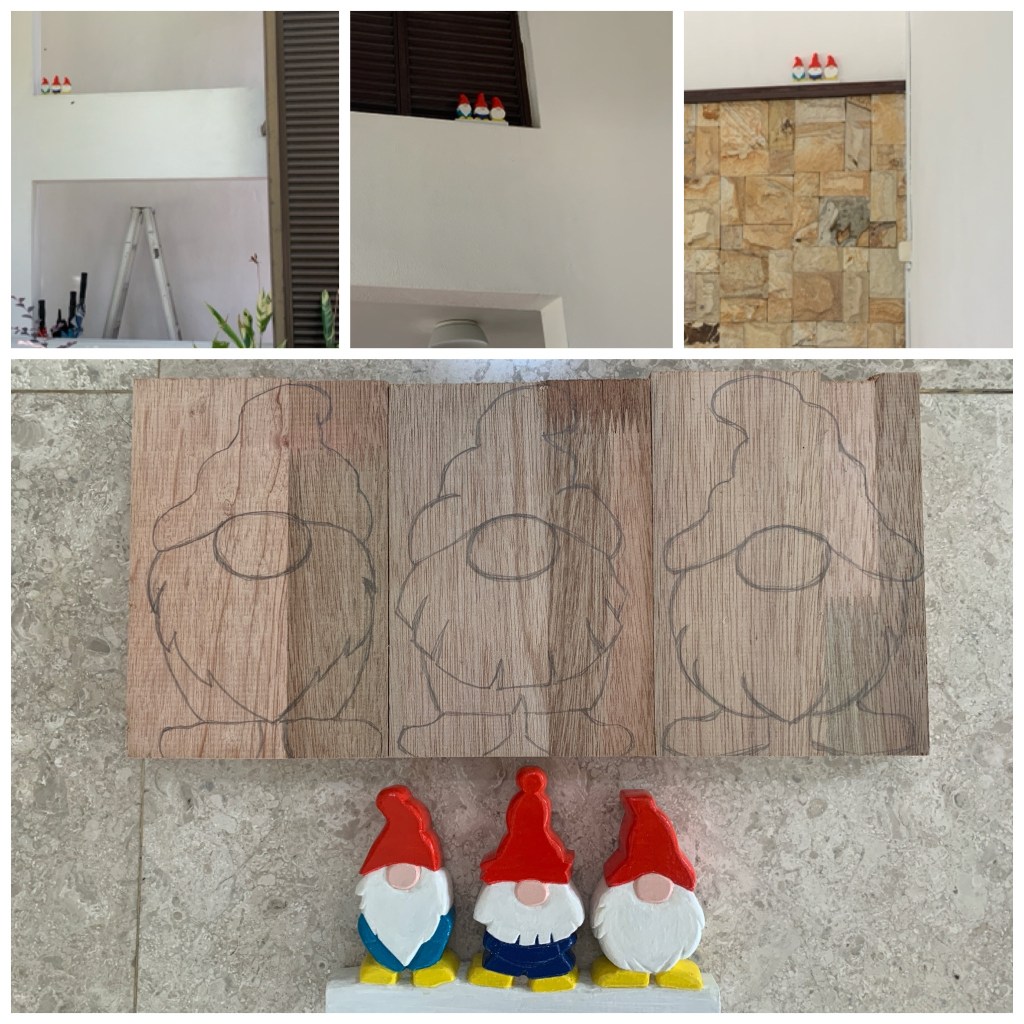
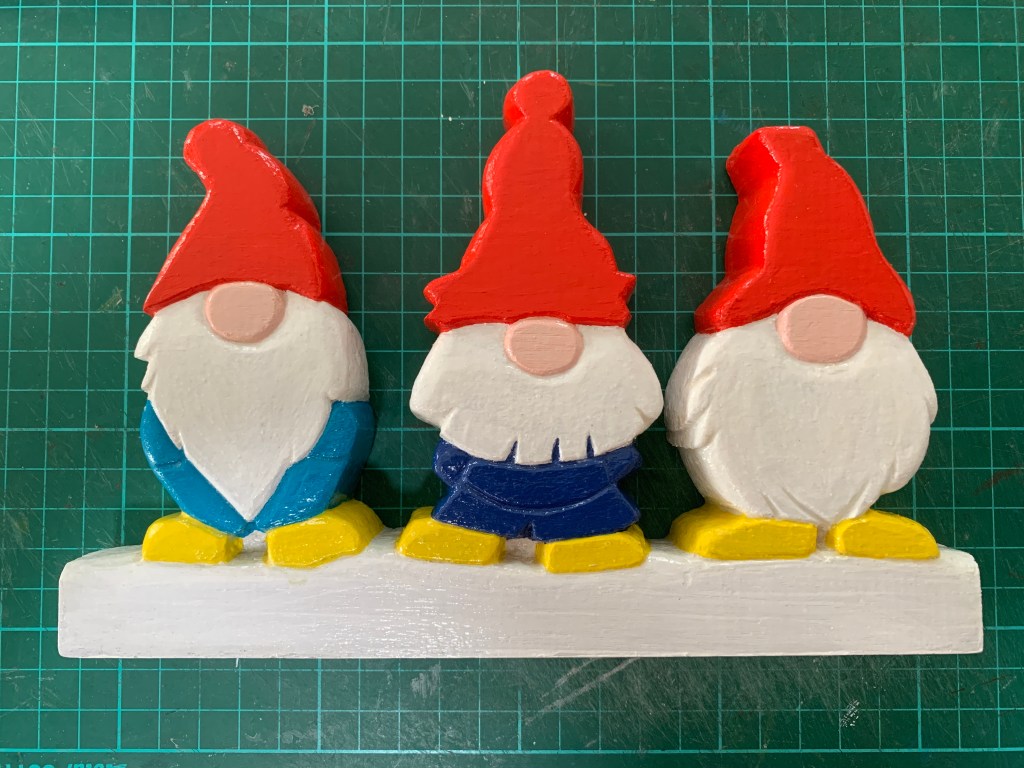
Perhaps I really should get back to completing the second Gnome Trio carving, which has been left unattended for some time already. Hmm.


Remarks