Tag Archives: DIY

DIY Project #31

18 Aug

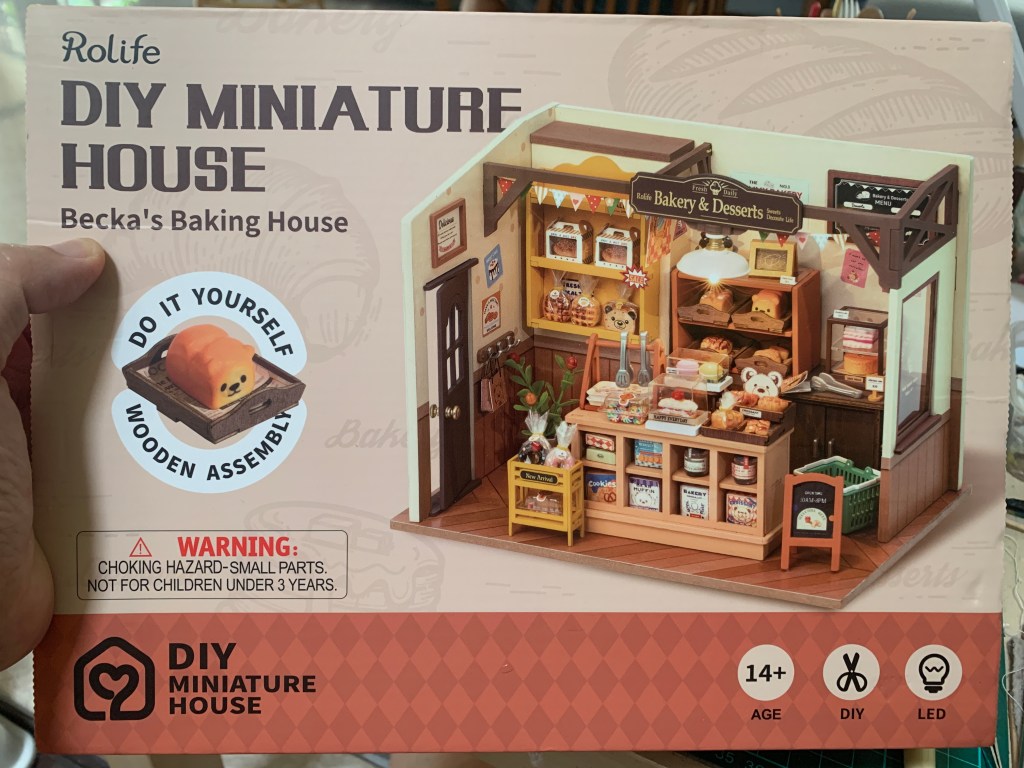
After a lengthy pause from crafting, I have decided to start on DIY project number 31. Number 31, wow! It’s been three years now that I have been building miniatures, and I find this activity very therapeutic. It’s nice to be immersed in my little miniature world, away from all the noise and disruption of reality!

However, sometimes it can be very aggravating because things are all so tiny, but I take the challenge head-on. Deft fingers and patience are a must. My biggest bane now is storage. Where do I keep the completed sets? I should consider acquiring a second Ikea display cabinet to house all my completed miniatures.

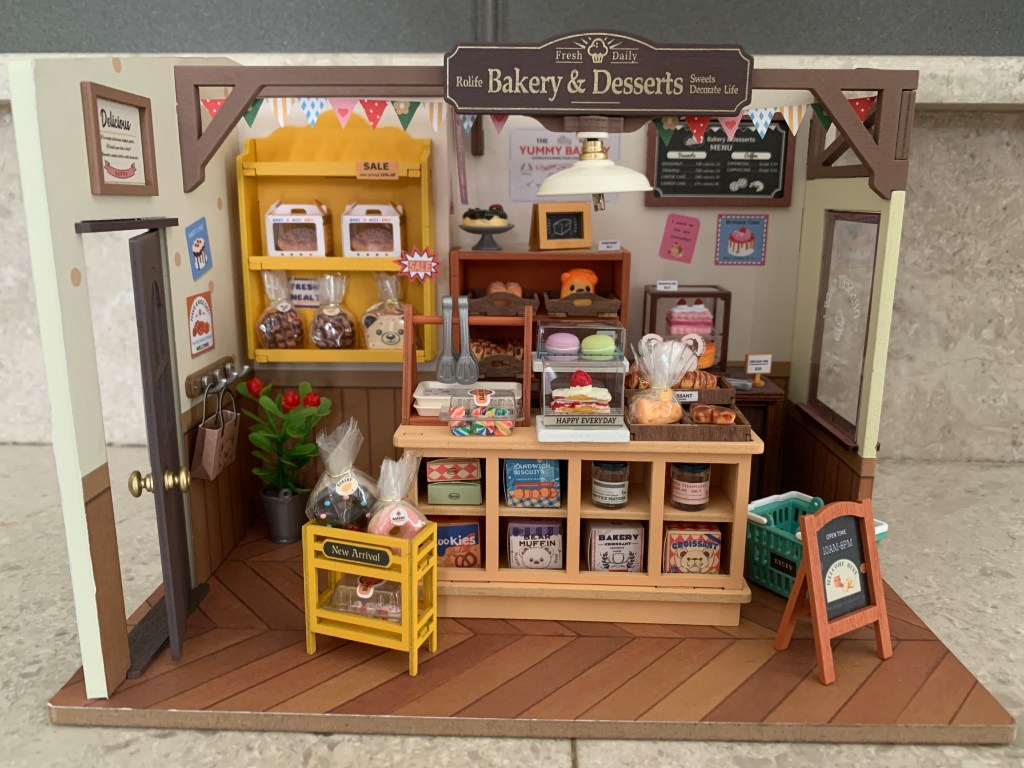
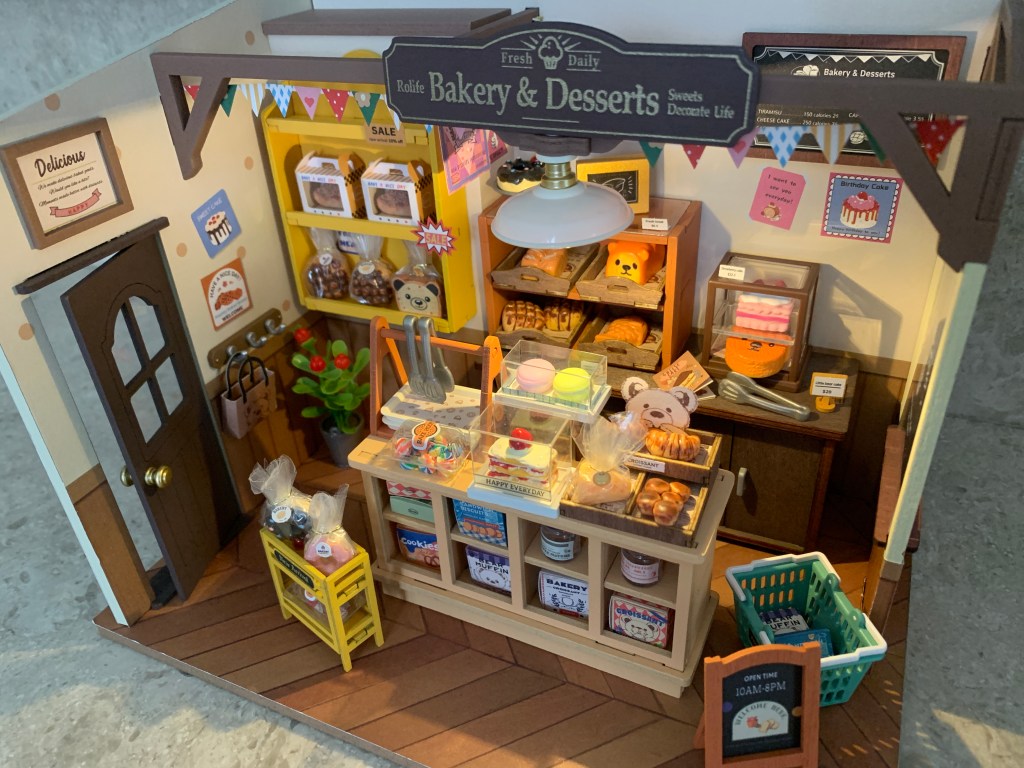
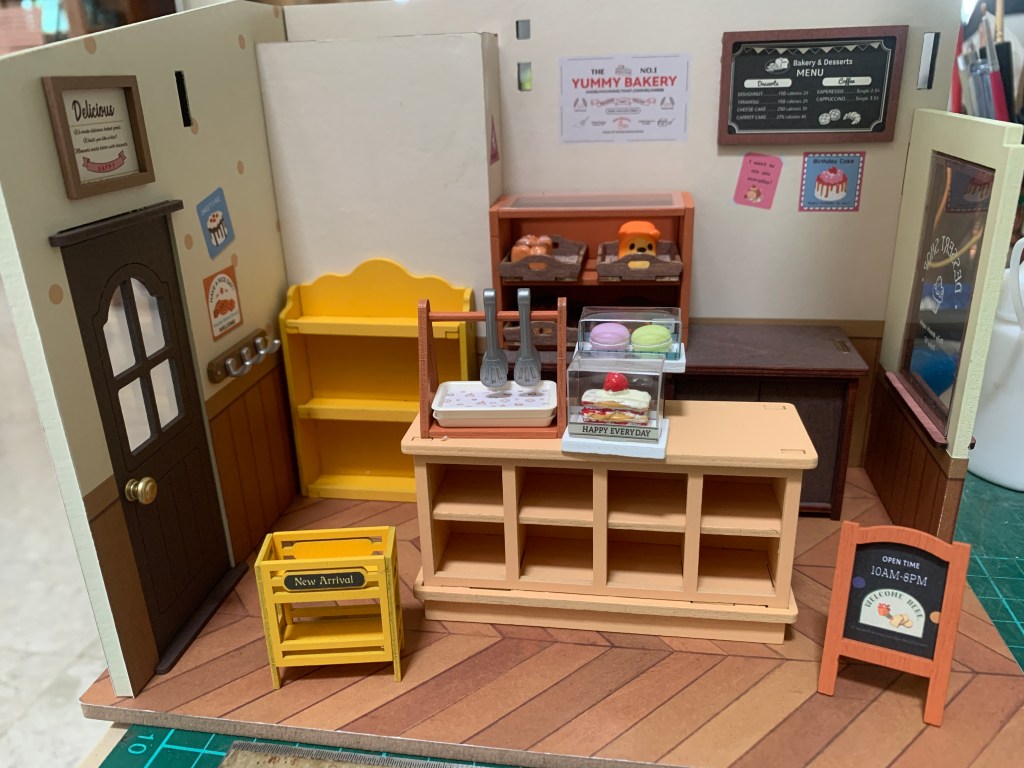
So project number 31, a kitchen, is a small set like projects number 25 and 26. They are from the same series. Three weeks tops to complete this, barring disruptions or travel? We shall see.

Project number 31 begins!

To Craft or Not to Craft

25 Jul

Now that I have completed DIY project number 30, it is starting to collect dust (!) because I left it on the dining table. I am in a bind. Do I begin the next one or not? There is no space in the Ikea display cabinet to fit in another set this size. And I don’t have any spare dust covers to protect the completed kit from dust.

Perhaps I should pause my crafting because, just about every other day, I am at the golf course. So any crafting momentum would be slow and not smooth at all.

If I start and crafting is going slow, incomplete pieces will only collect dust at my workstation. It doesn’t have to be a predicament to craft or not, but it is. Sigh.

Break in Momentum

21 Jul

Public holidays are always a welcome occasion! We had a public holiday in the middle of the week. A break in momentum from golf, work, and routine, so hubby and I took in a movie which was a welcomed change.

So far, it is the only break for July; the next public holiday is at the end of August. Perhaps another movie during that time? Hmm.

DIY Project #30, Part 2

17 Jul

I completed DIY project number 30 over the weekend! Despite taking a week off from it because I was busy playing golf, it was good-paced enjoyment and a pleasant experience compared to all my previous sets.

A super fun build
DIY project number 30

I did not encounter any frustrating moments and did not have glue stuck on my fingers. My biggest challenge now is to find a place to display it, as the set did not come with a dust cover. Looking at my Ikea display cabinet, there is hardly any space left, unfortunately. So I may have to swap things around to make room for it. We shall see.

I will take a break from building miniatures before deciding on project number 31.

DIY Project #30

3 Jul

DIY project number 30 is such a joy to build. Firstly, everything is so big compared to the past few that I have completed. Those were tiny miniatures, and project number 30 is hardly one!

Although there were occasions I stopped working on the project, the pace has been quite good. The main structure is up, and all the furniture pieces are complete. I believe I can wrap it up within a week or so! Whee.

A Special Thirty, Part 2

27 Jun

I wanted to build something special for DIY project number 30, a significant milestone. Several weeks ago, my favorite online shopping website had its 6/6 sales, and something caught my eye!

DIY project number 30

As it is, I have eight boxes of miniature piling up in my stash, yet I wanted to purchase another. Hoarder. And so, with a click on the mouse, I bought my latest miniature set to be my DIY project number 30. It didn’t take long to arrive; I’m a happy camper.

A much bigger set from the last few

A Special Thirty

26 Jun

I started DIY project number 30 last week. Thirty! That’s how many I have done since the pandemic broke three years ago. The first year, I crafted so many; the second year, lesser; and this third year, I have slowed down so much. Oh well, there is a valid reason for this decline.

During the first year, when we had all those lockdowns and MCO (Movement Control Order), I was speed-building miniatures to pass the time at home. In the second year, when the restrictions were lesser, I was back to playing golf, going out, and traveling, and my hobbies – carving and building miniatures, took a backseat. Hence, not that much craft work to show.

With everything opened and the economy in full swing again this year, I find myself busier than ever and going out more. Staying home is only to avoid the heatwave outside. So spending time on my hobbies is much less this year. Nonetheless, however less it has been, I have arrived at number 30 for my miniatures. What a milestone!

DIY Project #29, Part 2

6 Jun

DIY project number 29 is coming along slowly. I’m okay with the pace because I’m simply taking my time. There have been distractions, but good ones, like going away for the weekend to hubby’s hometown. And then, of course, there were the golf games. But all in all, I’m pleased with how the project is progressing.

All the itty bitty pieces

The biggest challenge is working on the sofa chair, as fabric materials are hard to handle. Now, I cannot don’t do the sofa chair because it is the main piece of furniture in this little layout. Just have to be positive to get it done.

The big sofa challenge

DIY Project #29

19 May

After procrastinating for days, I finally mustered enough energy to start DIY project number 29. The unbearable heat is taking its toll on me to be a sloth and do nothing. It is not healthy.

Project number 29

So project number 29 is from the same series as project number 27. It is a slightly bigger set than number 28, which was minuscule. Although there are even larger sets to work on, I’m avoiding them now. My Ikea display cabinet, sadly, has no more space to display the big units. Oh well, time to buy another display cabinet!

Luckily, number 29 came with dust covers, just like number 28, so I can display it anywhere upon completion. I only hope my pace will not stutter due to the heat. Onwards with crafting my miniatures!

Fixing the Mess

12 May

I am feeling like a sloth lately because of the hot weather. Two weeks ago, I completed DIY project number 28, and since then, the mood is not there to start the next one. Although number 28 is a done deal, the wiring mess is eating at me. So I have decided to fix it before I begin project number 29.

The switch is so tiny, and the wires so delicate that the connections fell apart! I was aghast; my fingers were more clumsy than deft! How do I fix the mess when all parts involved are so minuscule?

Tiny and skinny maketh a mess

I had to borrow a soldering iron hand tool to do the job. Let’s hope this works. Otherwise, all the effort to put the lights in place for this beautiful tiny house will come to naught without a switch. Keep the sloth away, and get the job done!