Just when I thought I had them small, this DIY kit that I recently purchased tops them all!
Every month offers from my favorite online shopping site to coincide with the double digits date and month, i.e., 8/8 or 9/9, are very enticing. So naturally, I bought this DIY kit on the 9/9 sale stretch.
Although it is super minuscule, it will most likely be the next one to work on after I complete DIY project #31. Let’s see if I can take the challenge!
DIY project number 31 is coming along slowly. Besides building, there are pieces of furniture and accessories that require painting to complete the composition. Otherwise, the set will look different from the picture on the box unless I want a total change. Unfortunately, as much as I enjoy building my miniatures, I find customizing tedious.
Whenever a set requires a paint job for the loose items, I use my acrylic colors. Sometimes, the DIY sets do provide little pods of colors to use. So, I use those because they are of the right colors instead of having to mix the shades myself.
Recently, I discovered a new trick to shortcut this step. Instead of painting, which requires several layers, I use a color marker! And since I have two brown shades, typical for pieces of furniture, it has been okay. The pieces look just as natural. However, I need to replenish my markers soon because they are drying up fast!
Public holidays are always a welcome occasion! We had a public holiday in the middle of the week. A break in momentum from golf, work, and routine, so hubby and I took in a movie which was a welcomed change.
So far, it is the only break for July; the next public holiday is at the end of August. Perhaps another movie during that time? Hmm.
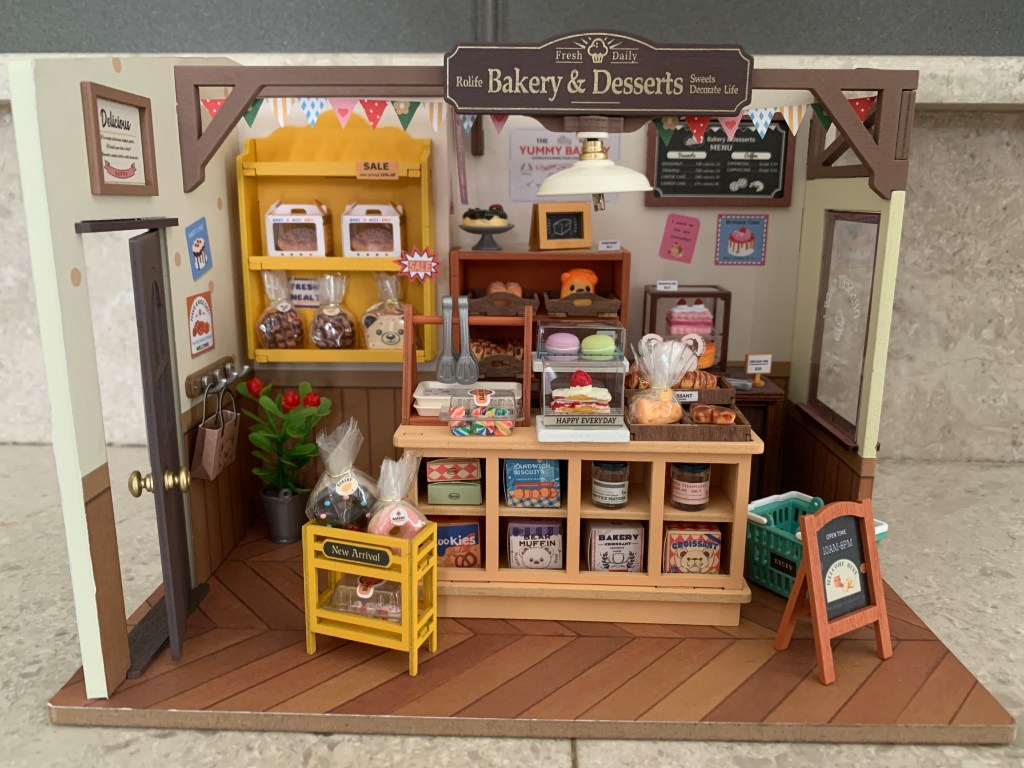
I completed DIY project number 30 over the weekend! Despite taking a week off from it because I was busy playing golf, it was good-paced enjoyment and a pleasant experience compared to all my previous sets.
A super fun buildDIY project number 30
I did not encounter any frustrating moments and did not have glue stuck on my fingers. My biggest challenge now is to find a place to display it, as the set did not come with a dust cover. Looking at my Ikea display cabinet, there is hardly any space left, unfortunately. So I may have to swap things around to make room for it. We shall see.
I will take a break from building miniatures before deciding on project number 31.
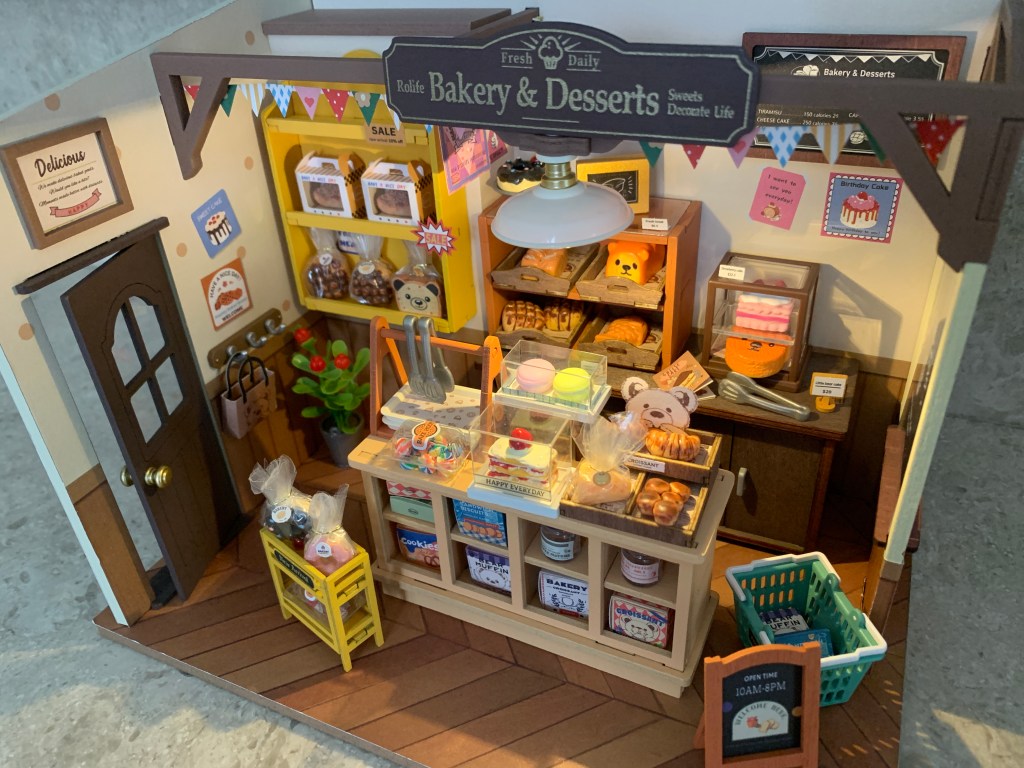
DIY project number 30 is such a joy to build. Firstly, everything is so big compared to the past few that I have completed. Those were tiny miniatures, and project number 30 is hardly one!
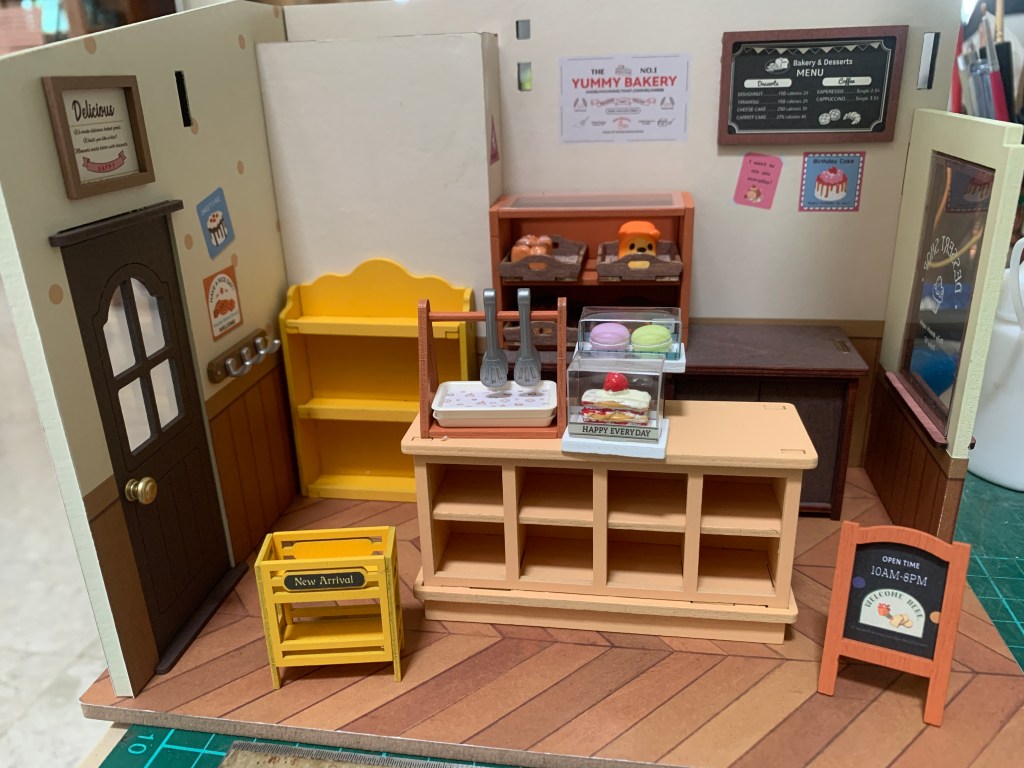
Although there were occasions I stopped working on the project, the pace has been quite good. The main structure is up, and all the furniture pieces are complete. I believe I can wrap it up within a week or so! Whee.
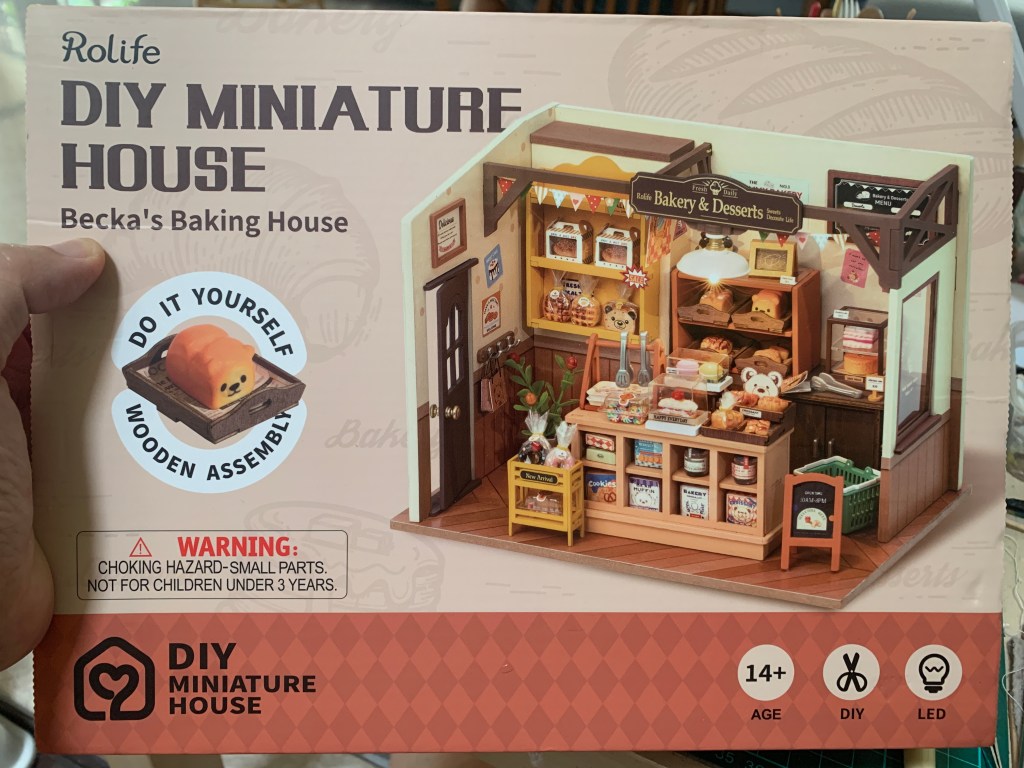
I wanted to build something special for DIY project number 30, a significant milestone. Several weeks ago, my favorite online shopping website had its 6/6 sales, and something caught my eye!
DIY project number 30
As it is, I have eight boxes of miniature piling up in my stash, yet I wanted to purchase another. Hoarder. And so, with a click on the mouse, I bought my latest miniature set to be my DIY project number 30. It didn’t take long to arrive; I’m a happy camper.
I started DIY project number 30 last week. Thirty! That’s how many I have done since the pandemic broke three years ago. The first year, I crafted so many; the second year, lesser; and this third year, I have slowed down so much. Oh well, there is a valid reason for this decline.
During the first year, when we had all those lockdowns and MCO (Movement Control Order), I was speed-building miniatures to pass the time at home. In the second year, when the restrictions were lesser, I was back to playing golf, going out, and traveling, and my hobbies – carving and building miniatures, took a backseat. Hence, not that much craft work to show.
With everything opened and the economy in full swing again this year, I find myself busier than ever and going out more. Staying home is only to avoid the heatwave outside. So spending time on my hobbies is much less this year. Nonetheless, however less it has been, I have arrived at number 30 for my miniatures. What a milestone!
I finally completed DIY project number 29 three days ago. It was the finishing touches to wrap it up. Working with fabric – cloth, felt, or PU leather is not my favorite. It is so hard to get these materials to stick to each other. I always end up with more glue on my fingers than the piece in hand!
Flimsy looking stand lamp
The other thing I don’t fancy is using thin wires to make tiny pieces of furniture legs or lights, such as a table or standing lamp. Wires are flimsy, and it’s tough to shape and glue them together. Add in the lighting wires, and the assembly, most times, is a disaster waiting to happen if I am not patient with the challenge. Then I have to modify or start all over again.
The standing lamp construction did not look stable, in my opinion. The task called for sticking the light cables to the skinny wire stand. I had doubts the structure could hold and carry the weight of the lampshade too. I tried and failed.
So I had to improvise. Otherwise, DIY project number 29 would be incomplete. I used a straw to make the stand of the lamp. And it held the wire and light cables inside effortlessly and neatly. The blue straw, unfortunately, does not quite blend with the overall color scheme, but I’m okay with it. The stand lamp looks more solid than what was in the manual.
With the switch and the battery added, DIY project number 29 now sits nicely on the open shelves with a dust cover. Whee!
It slipped my mind of another significant celebration because of the recent wedding. As of yesterday, my blog reached its tenth anniversary! Gosh, where did the time go?
It never crossed my mind that when I started this a decade ago, I would go on for so long. It seems that there is so much to write and share. Ten years is a long time. Honestly, it was simply to write and keep memoirs of significant moments in my life covering my travels, hobbies, and adventures. Who would have thought this prevailed all these years and still going strong?
Well, happy anniversary to my blog, and a big thank you to all my readers and supporters for keeping my blog going! A toast to many more years ahead.


Remarks