
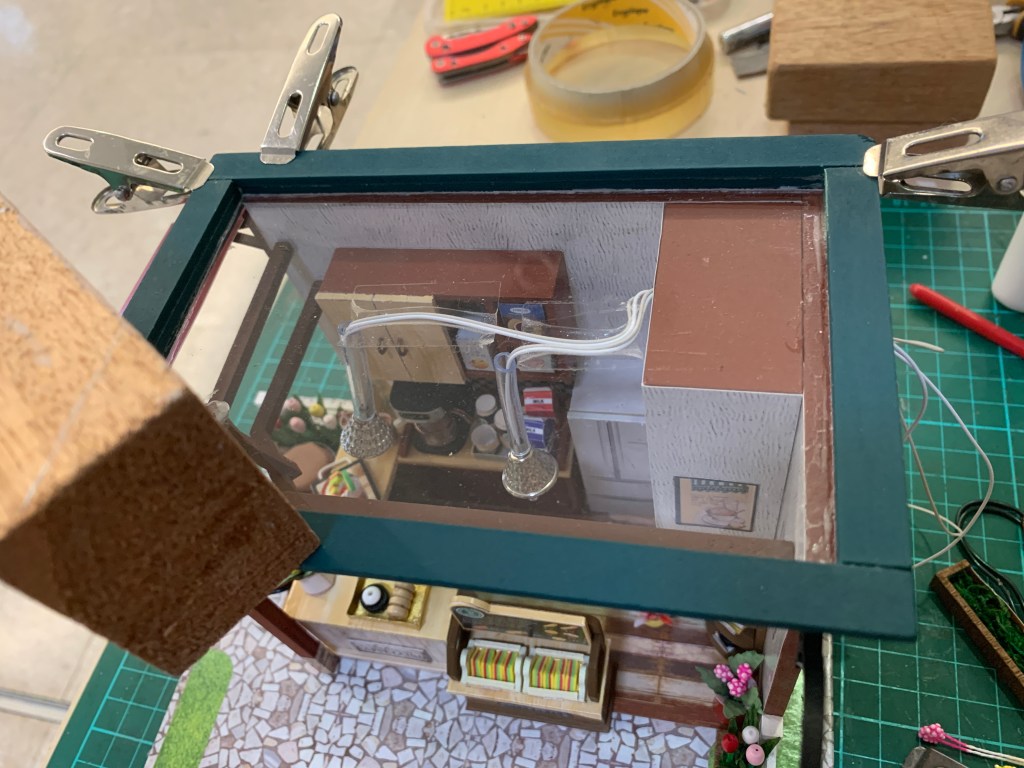
I finally completed DIY project number five. Phew. Towards the end of the project, it was mostly frustration I felt. The instructions were vague, making the chandelier was challenging, and then I discovered there was another chair to make! That makes it nine chairs altogether.


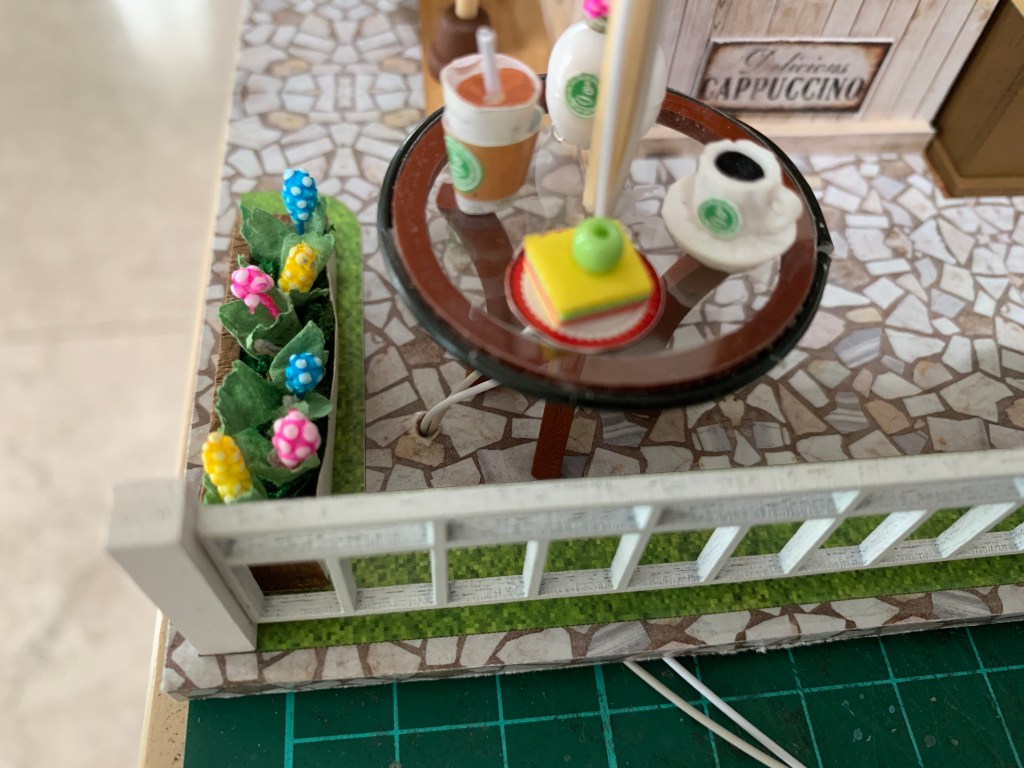
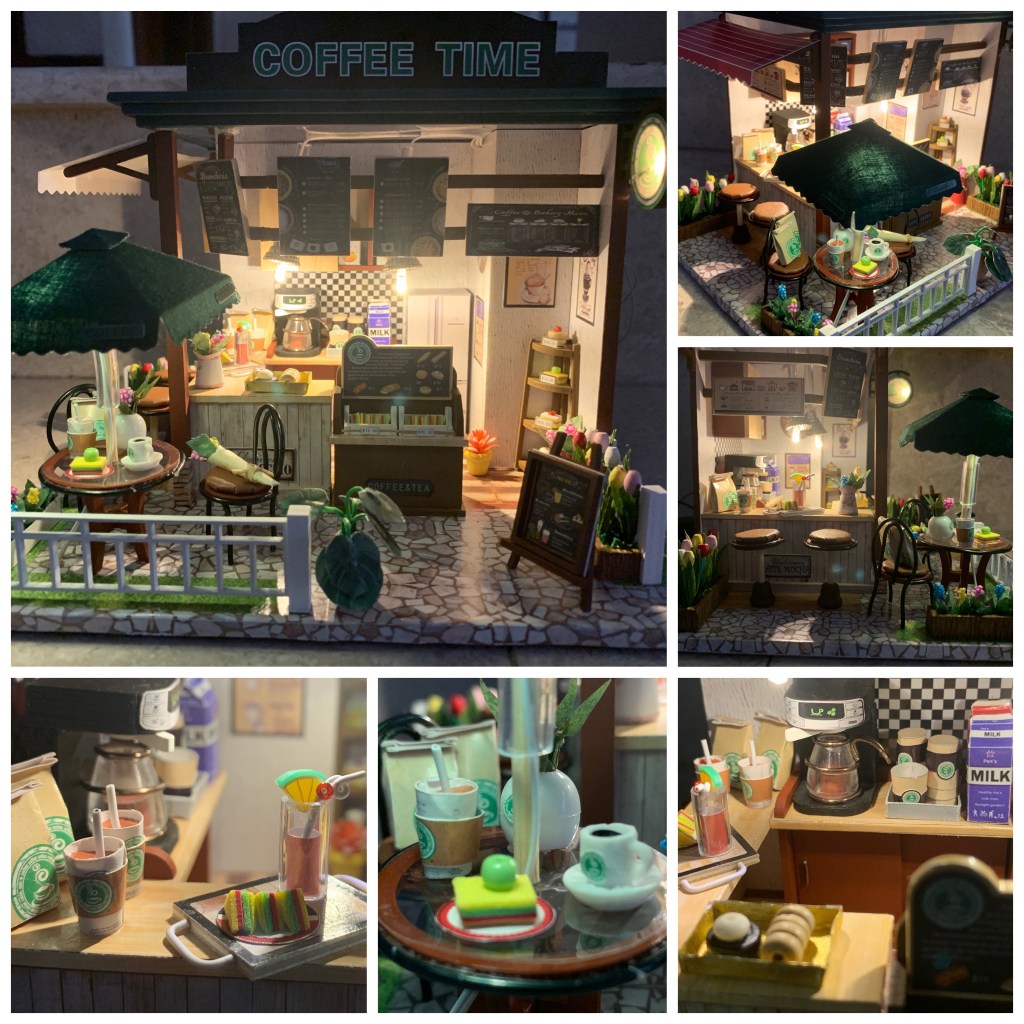
Project number five is a container cafe, and it has so many chairs. And I found assembling the chairs a bit funny, gluing paper to the chair seat and backrest. I bypassed this step and painted the chairs instead. Then again, making chairs from scratch isn’t the easiest either from experience dealing with the chairs in DIY project number four.

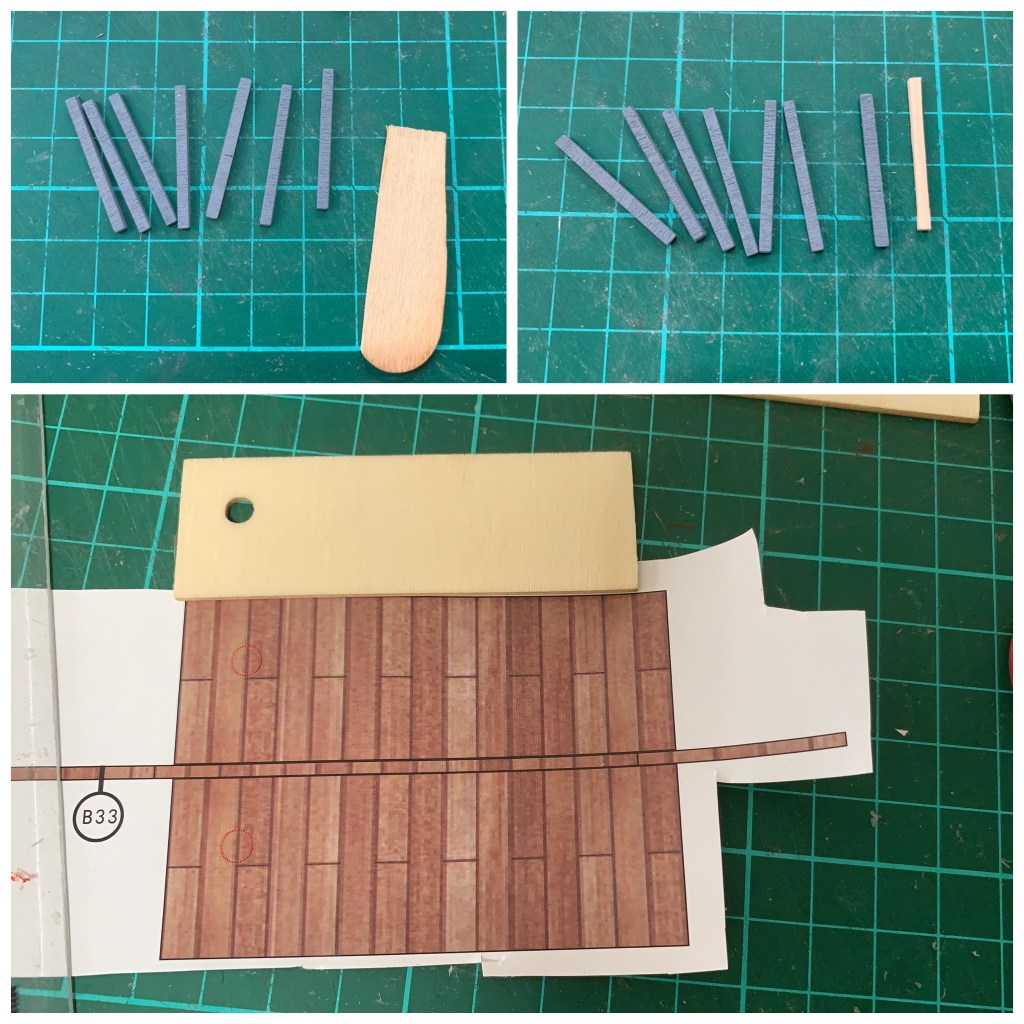
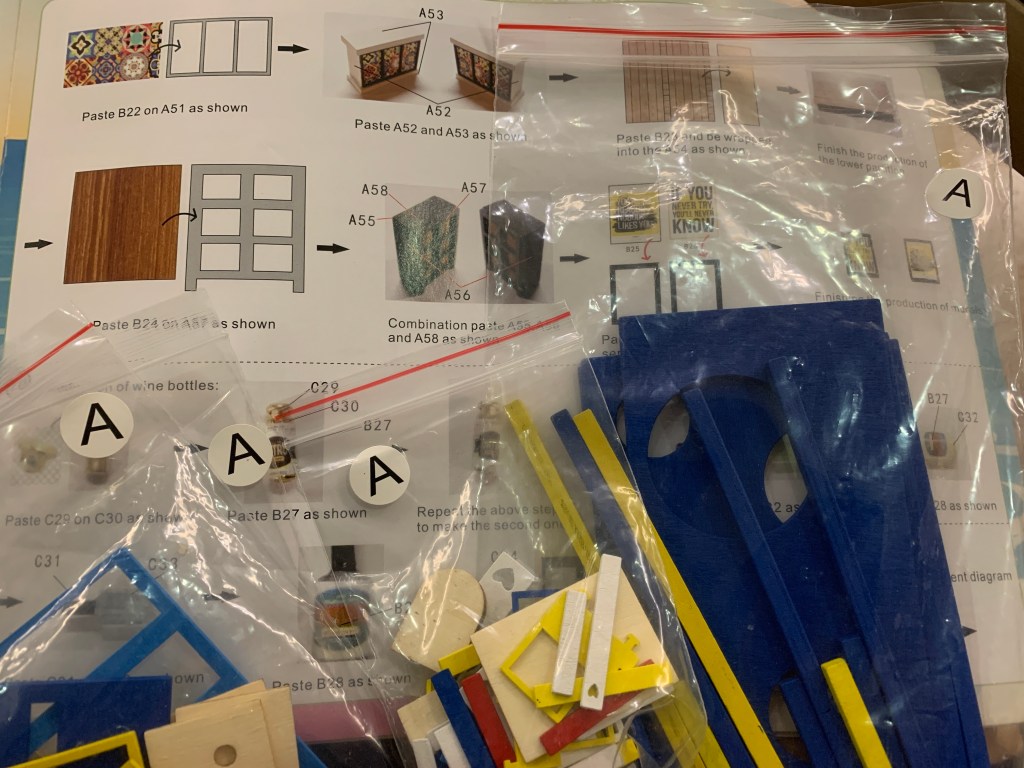
Overall, there’s so much paper, not just small pieces but big pieces to work with for surfaces of all sizes, come to think of it. After a while, it was ridiculous. Why so much paper? Argh.
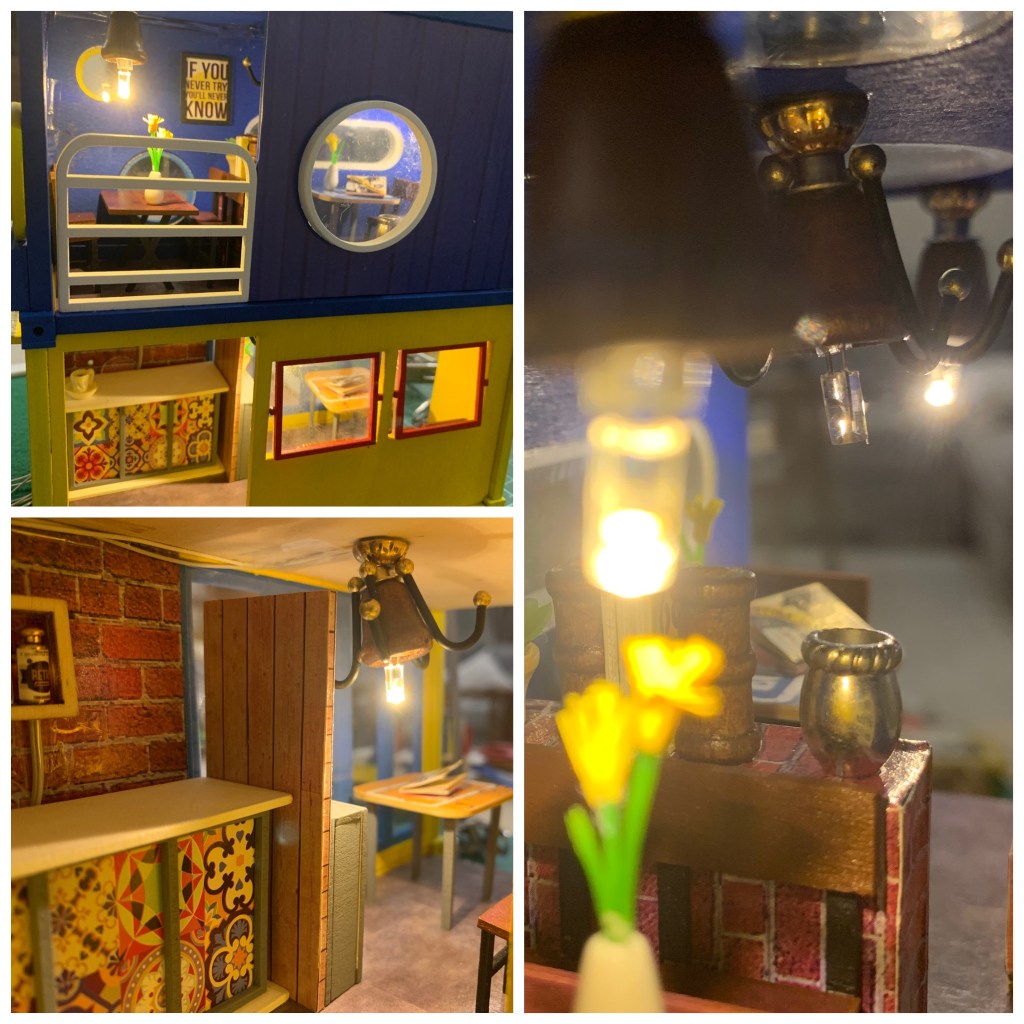
And when I thought I was on the last stretch to finish the set, the wiring for the lights gave me problems! Sigh. One of the chandeliers could not light up, and I cannot figure it out. So I gave up fixing it. I am glad I persevered and completed the set. It will now be on display with the other completed projects on the dining table.


Remarks