
A week has passed since the deadline, and there has been no change in the status of my DIY pinball machine kit. In other words, it has not shipped yet. Boo. At this point, my urge to build has waned.
Two days after the vendor missed the delivery deadline, as shown on my favorite online shopping site, I messaged them again to get a status update. There’s the usual apology message, asking for my patience and saying they are doing their best to expedite all orders on time.
“Doing their best?” I thought. Duh, I don’t think so. Are there so many ardent crafters like me who ordered this DIY pinball machine specifically that they can’t fulfill the deliveries? It’s now been two and a half weeks since I placed the order.
To avoid becoming frustrated with the situation, I might dust off one of the boxes in my stash and start working on an existing kit while I wait for this particular kit to arrive, or forget about this whole crafting thing! After all, the enthusiasm has died down now, with all that waiting for the kit to arrive.
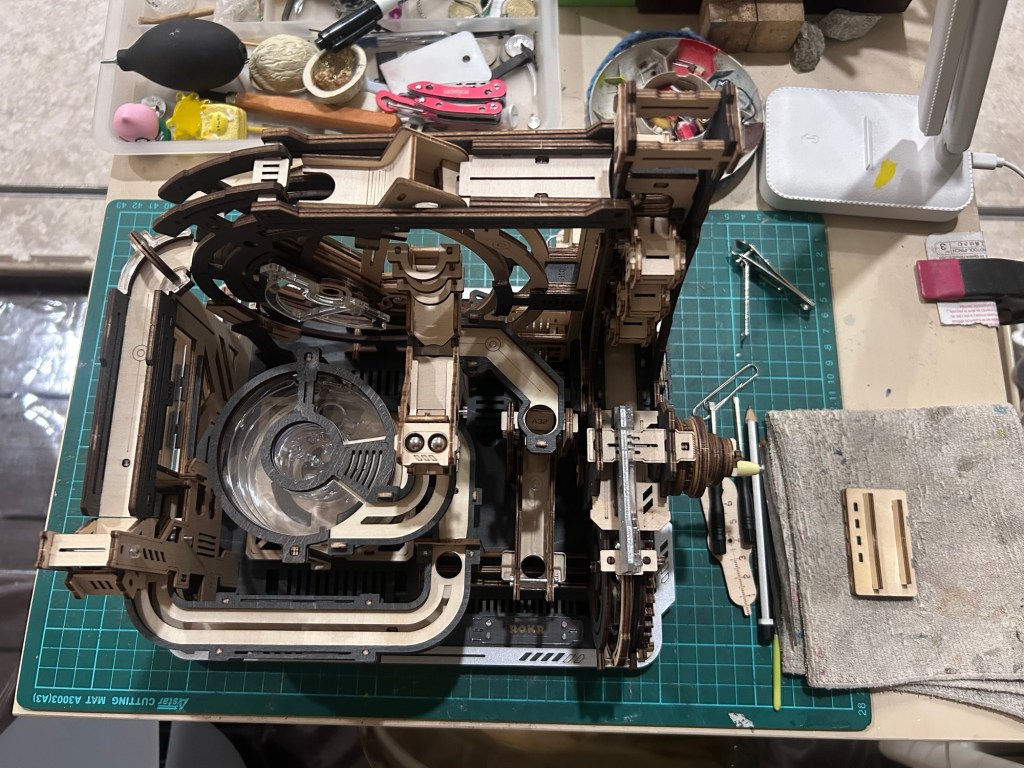
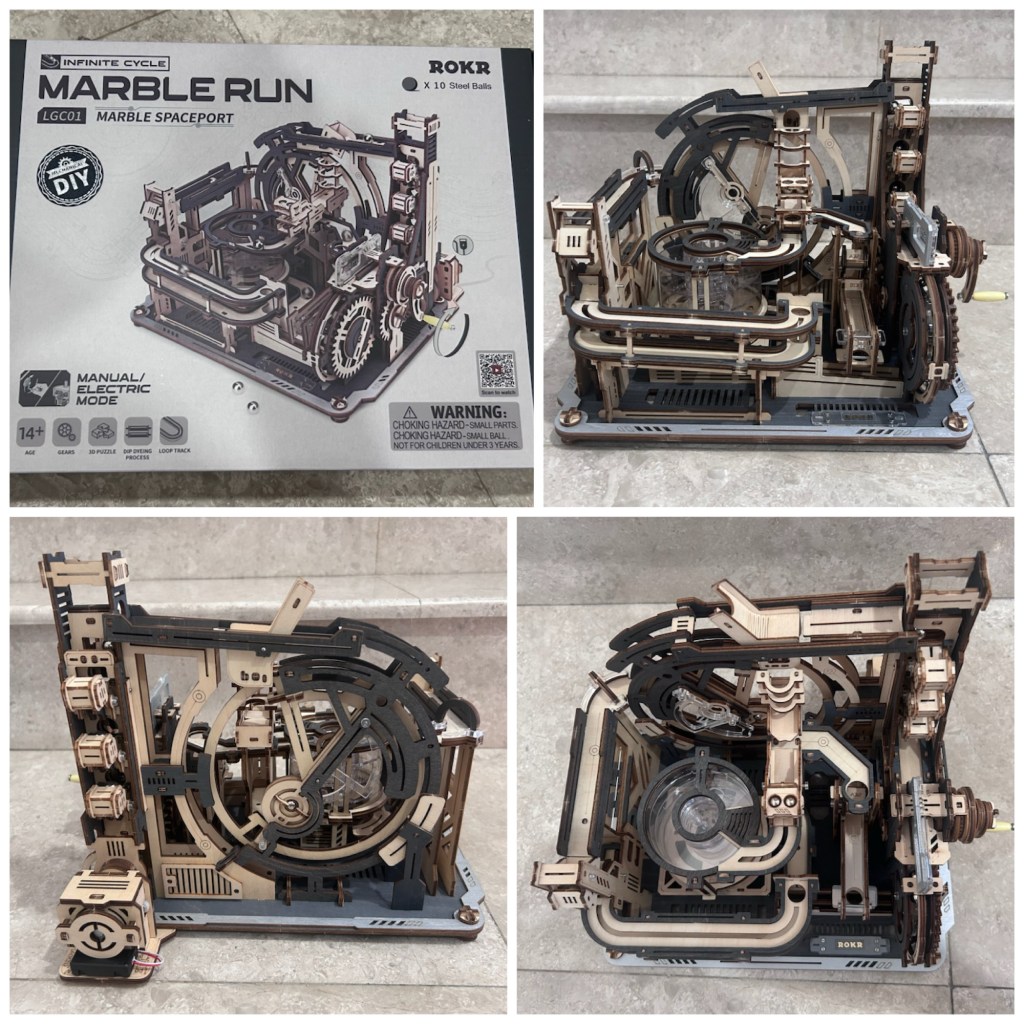
Sometimes, things don’t work out as intended. In my case, contemplating another challenging DIY project after the Marble Run Spaceport, purchased from a physical store in the mall, has hit a snag due to this delay. The only consolation from this episode is my patience, something that is never a virtue of mine. Oh well.


Remarks