
I did not know what to expect from DIY project number 11 as it was different from all the others that I have completed. The set was smaller, and the materials different. Although I had a good momentum working on it in the early stages, it got stalled because I veered off to do gardening.
Eventually, I completed the set in under two weeks, an achievement of sorts given the circumstances. Towards the end, I customized a lot of things, deviating from what the box showed.
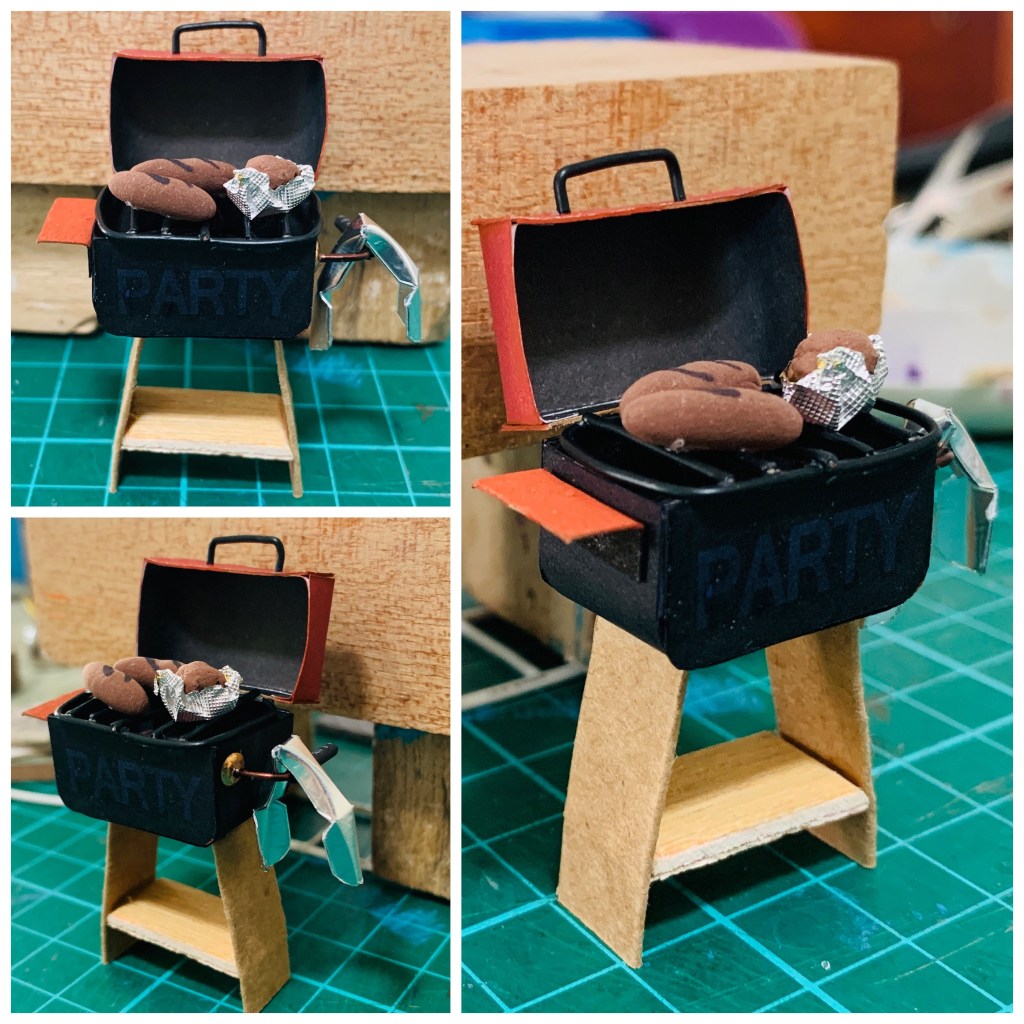
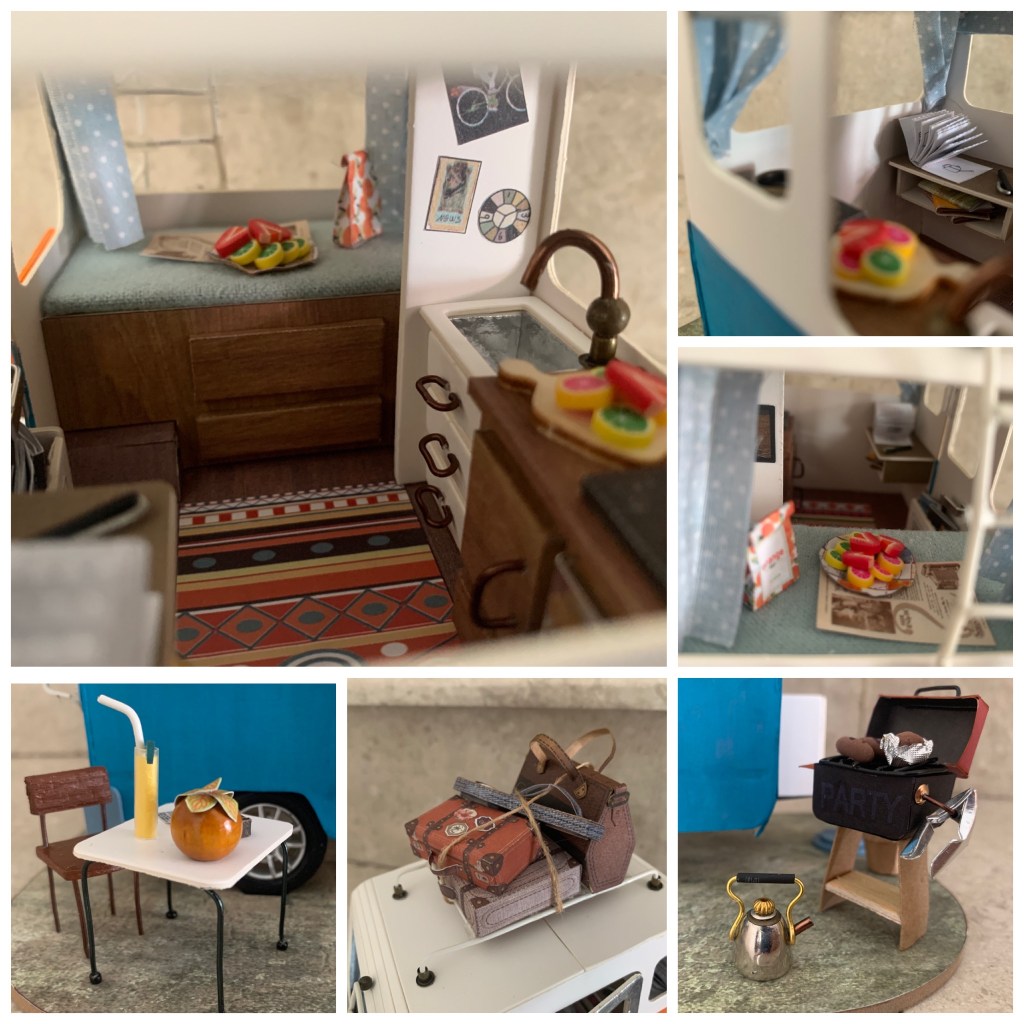
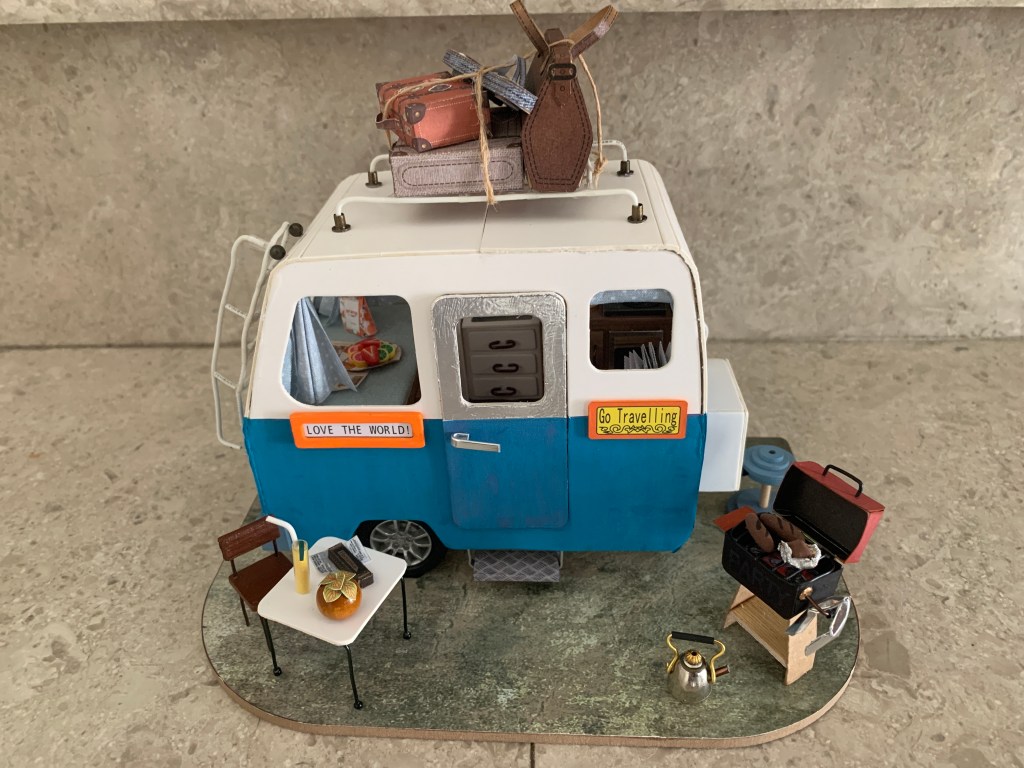
The thing that I am most proud of is the little BBQ grill pit. I gave it a more sturdy set of legs, a handle to hang the tongs, and a side tray. To add more realism, I added two fat chorizos and a baked potato on the grill! It was fun working on this piece.
Other items that had makeovers were the chair, table, and kettle. The chair was accidental because I cut the wrong wires to make the legs. As I did not want to waste the material, I improvised the chair. So it ended up looking like this instead.

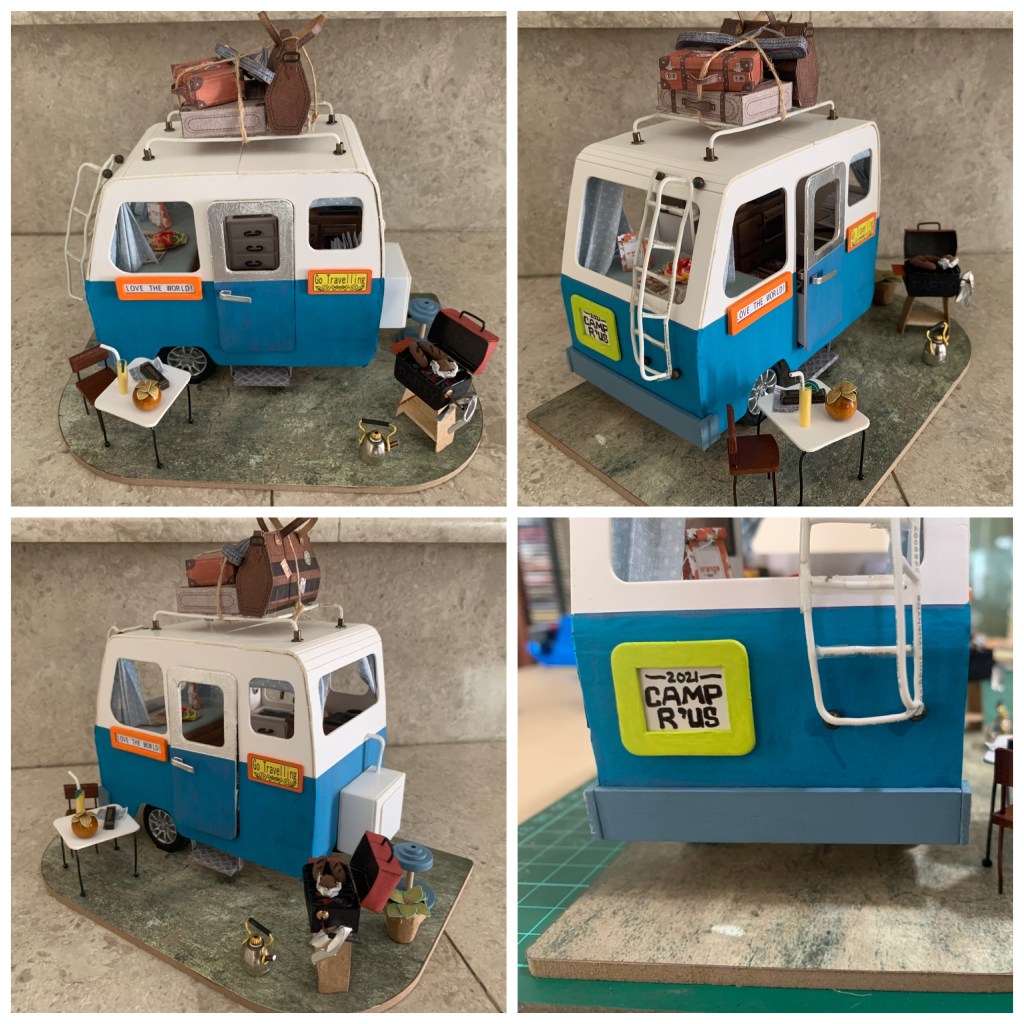
I changed the table shape and material from the original, and this worked out well. I even changed the items on it, replacing the lantern with a tall glass of lemonade. The kettle had a minor change in the materials used.
In the end, I simplified the roof rack and put all the bags on there, and I chose not to install the lights in the camper van because I did not think it was necessary. So far, all the other completed DIY sets sitting in the Ikea display cabinet have yet to see any lighting action.

I also did not install the plastic pieces on all the window panes and added hinges on the door. Having learned from my first DIY project number one, the bungalow, I decided to leave the plastic out. I had all the itty-bitties done up so painstakingly, only to have transparent plastic block a clear view of them when I tried to photograph the insides of the bungalow. So this time, the camper van interior is photographed better.
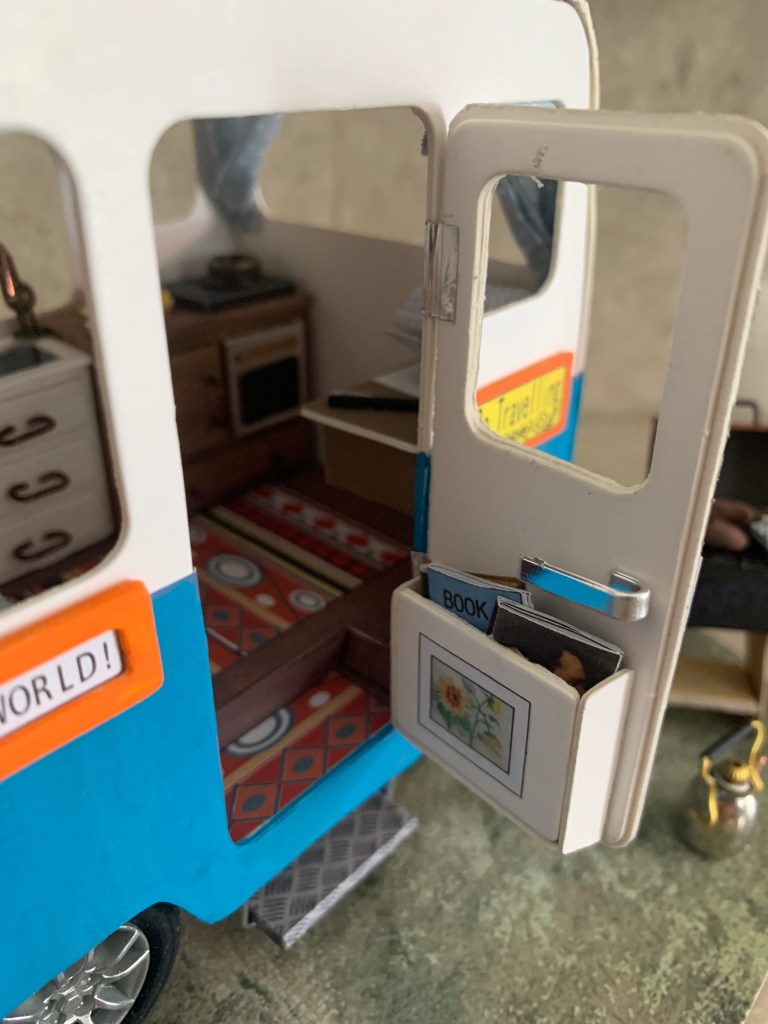
I felt putting hinges on the door was a good idea to open and close the door instead of having the door stuck in one position. It’s fun to play with this!
Overall, I am happy with the outcome of DIY project number 11. And with its completion, project number 12 is next to work on!


Leave a comment