
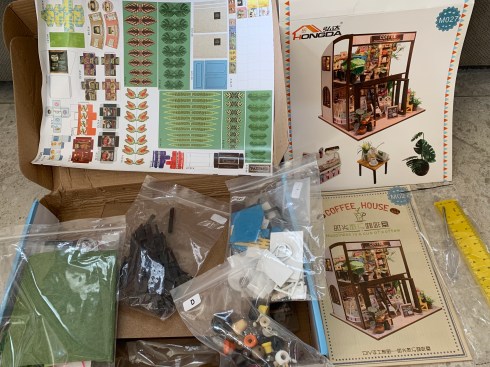
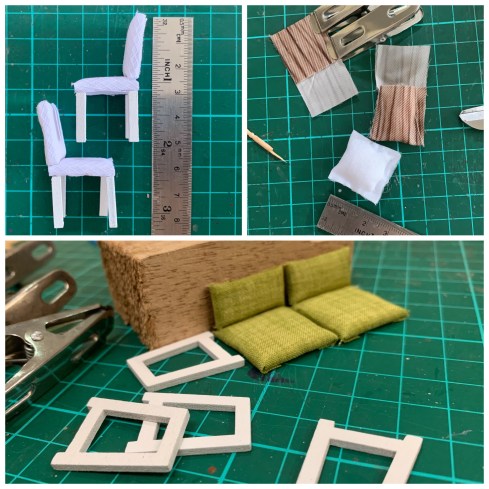
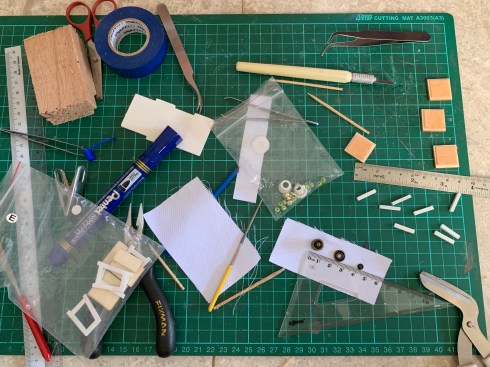
The DIY cafe diversion has been very encouraging within a short time. Even the wiring for the lights is much easier. Learning from this experience, one should choose a DIY project with more paper than fabric if one does not wish to be aggravated and end up with more glue on the fingers than the parts.
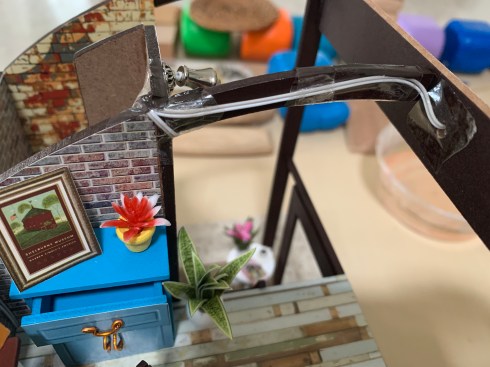
The wiring cleverly taped to a crossbeam before painting
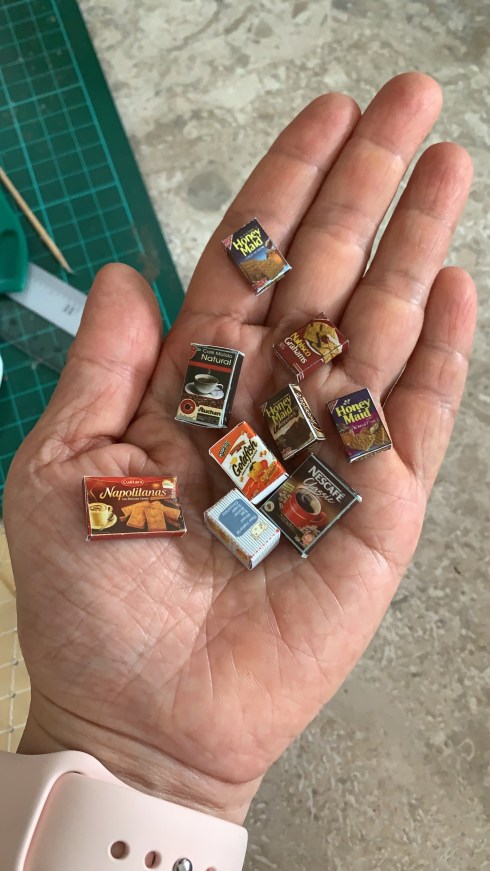
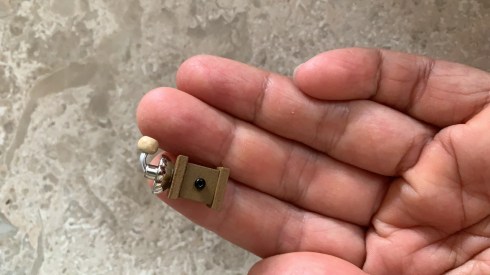
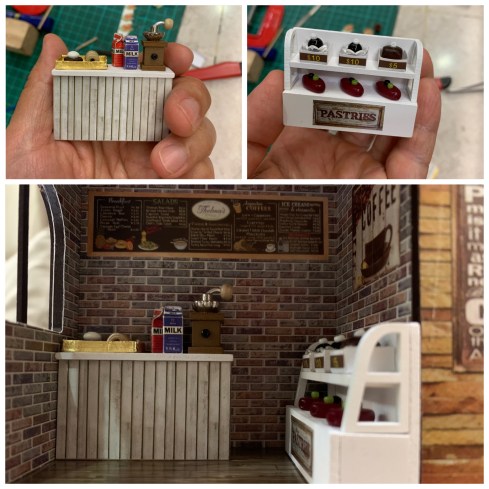
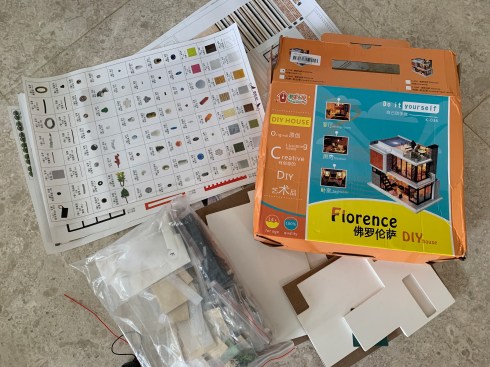
I have to say again the difference between the three DIY pieces is the choice of material. The two houses had more fabrics to deal with whereas the cafe had mostly paper. For me, the paper-based teeny weeny pieces are must easier to deal with over fabric. Then again, this is a matter of preference as some may think otherwise.

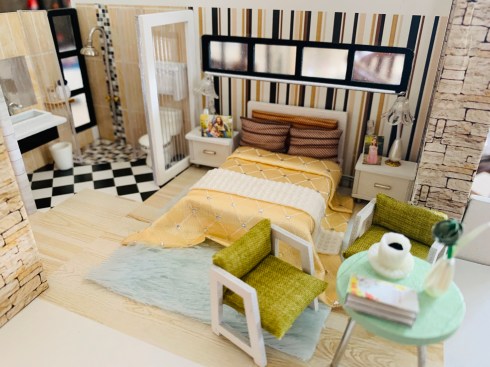
A few more potted plants and it’s complete
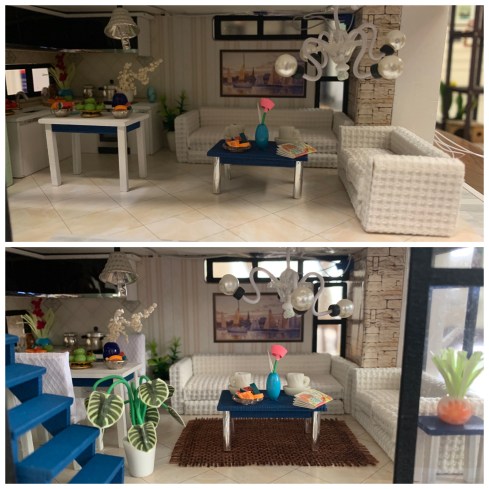
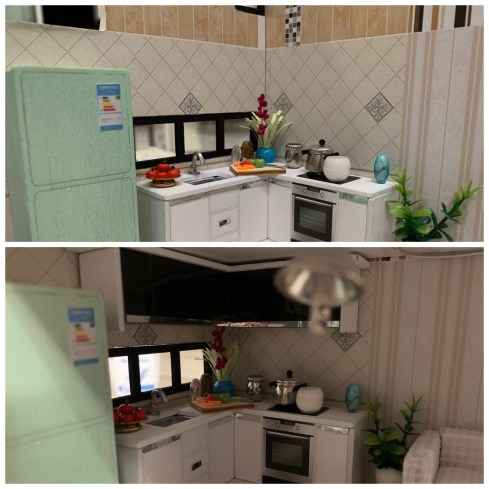
Nonetheless, I am now at the tail-end of finishing up the set. The structure and furnishings has been completed and what’s left are just several plants still to put together and it can be proudly displayed. I can’t wait.

Like the top floor, a few potted plants to decorate


Remarks